


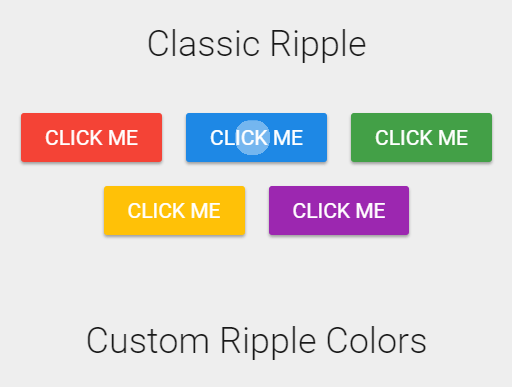
This is a dead simple, pure JavaScript/CSS implementation of the customizable Material Design ripple effects.
How to use it:
The necessary CSS/CSS3 styles for the ripple effect.
.ripple {
  position: absolute;
  background: #fff;
  border-radius: 50%;
  width: 5px;
  height: 5px;
  animation: rippleEffect .88s 1;
  opacity: 0;
}
@keyframes rippleEffect {
  0% {
    transform: scale(1);
    opacity: 0.4;
  }
  100% {
    transform: scale(100);
    opacity: 0;
  }
}
The core JavaScript.
window.onload = function() {
  let rippleElements = document.getElementsByClassName("myRipple");
  for(var i = 0; i < rippleElements.length; i++) {
      rippleElements[i].onclick = function(e) {
        let X = e.pageX - this.offsetLeft;
        let Y = e.pageY - this.offsetTop;
        let rippleDiv = document.createElement("div");
        rippleDiv.classList.add('ripple');
        rippleDiv.setAttribute("style","top:"+Y+"px; left:"+X+"px;");
        let customColor = this.getAttribute('ripple-color');
        if(customColor) rippleDiv.style.background = customColor;
        this.appendChild(rippleDiv);
        setTimeout(function(){
          rippleDiv.parentElement.removeChild(rippleDiv);
        }, 900);
  }
}
}
Apply the ripple effect to a button.
<button class='myRipple'>CLICK ME</button>
Customize the ripple color using the ‘ripple-color’ attribute like this:
<button class='myRipple' ripple-color='red'>Custom Color</button>
See Also:
 High-performance Ripple Click Effect – chaocore-ripple
 Highly Customizable Ripple Effect In JavaScript – Ripple.js
 Button Ripple Effect On Click
 Material Ripple Effect In Vanilla JavaScript – Ripplet.js
 Google Material Design Ripple Effects with Wave.js
 Material Design Ripple Effects In Vanilla JavaScript – rippleJS
 Material Design Click Ripple Effect In Vanilla Javascript – Material Touch
 Android L Ripple Click Effect with Javascript and CSS3