


Overview #
A Lottie is a JSON-based animation file format that enables users to showcase animations. The Lottie Animation widget enables you to add top-quality animations to your site. Just click and drag the Lottie Animation widget into your site. Here’s a comprehensive article to explain every method in detail. Follow the step-by-step process to connect the Lottie Animation.
Step->1: Add Lottie #
- Go to Elementskit-> Elements-> Make sure that your Lottie is active-> Save Changes.

- Click on the selected area.

- Go to Sections=> Click on Insert.

- You can see your selected animation style is showing.

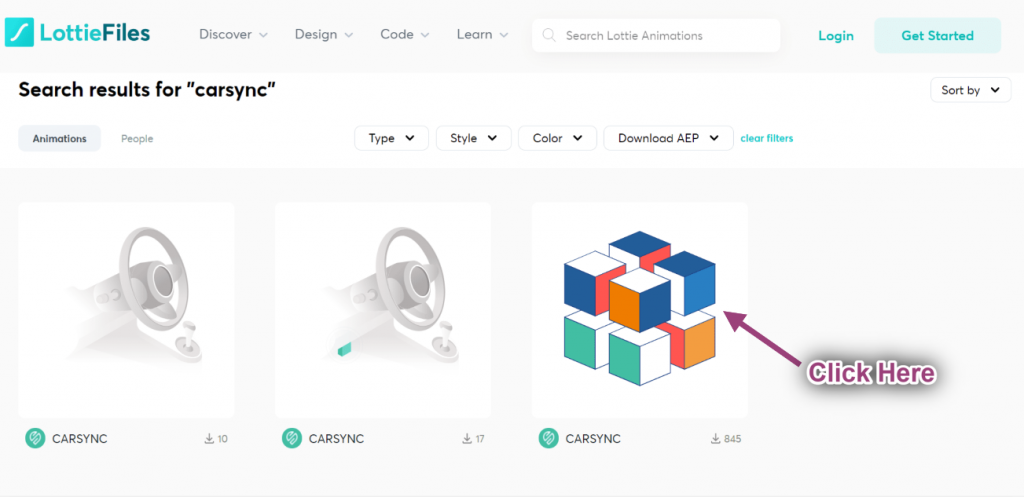
- Now search for Lottie-> Drag the widget-> Drop on the selected area.

Step->2: Customize Lottie #
- Click on the selected text “Lottie Animations“.
- From here you can download your Lottie animation file.

- To download this file, just click on the animation.
- Go to Downloads=> Click on Lottie JSON.

- Now upload the JSON File from the selected area.

- Now you can see your uploaded Lottie animation showing.

- Now Enable the Link option.
- Provide Link.
- Enable Reverse Option.
- You can see your animation is showing in reverse order and if you click on that it will redirect you to the exact location.

- Enable Autoplay.
- You can see the animation is playing automatically.
- Enable Start when Visible.
- When you enable start when visible, the animation will start playing only when it is visible.

- Enable Loop: Animation will play always and never stop.
- Control Loop Count: If you provide count 1, the animation will play only once.
- Control Speed: Make the animation slower or faster.

- Select Render Type: SVG or Canvas.
- Select Animation on Hover: Play, Pause or Reverse.
- If you select the play option, the animation will play on hovering.
- If you select pause, the animation will stop playing on hovering.
- If you select reverse, the animation will play in reverse order after hovering.
- Once done click on update.


