As Flywheel stands apart from most other managed WordPress hosting companies by offering several features for both web designers and developers, more and more companies are moving to a Flywheel server.
Flywheel is an Nginx-based hosting service, and it will require some extra setup after you install the WP Ghost plugin on your server.
Setup the WP Ghost on Flywheel Server
Activate Safe Mode or Ghost Mode
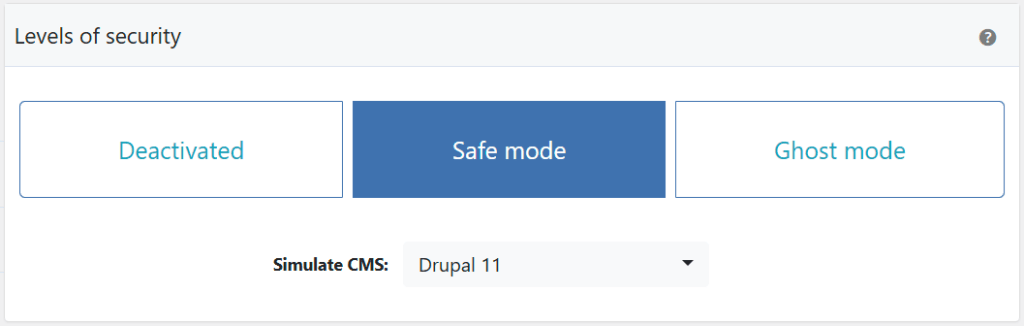
Begin by activating Safe Mode or Ghost Mode to open the path customization process.
- Access your WordPress dashboard after installing and activating the WP Ghost plugin.
- Select Safe Mode or Ghost Mode. Safe Mode provides basic protection, while Ghost Mode offers more advanced security features.
Flywheel Server Config
- You will see a message to include the redirects in the Flywheel Redirect tool.


Note! Do not logout until you set all the redirects and they were activated by the Flywheel server.
Clear the Flywheel Cache
To load the new paths from your website, you need to clear the cache on other cache plugins installed on your website, too.

Frontend Login Test
After the redirects are added in the Flywheel Redirect tool, run the Frontend Login Test in WP Ghost and check if the frontend and login pages are loading correctly.

If everything loads fine in Frontend, click “Yes, it’s working”. Otherwise, click “No, abort” to roll back to previous settings.