

How to Hide the Admin Bar in WordPress
By WPCodeBox
Allow SVG uploads into your WordPress site using WPCodeBox.

WordPress restricts the types of files you can upload to the media library to keep your site secure. This default configuration blocks SVG files, which is a major limitation for modern websites that require sharp icons and lightweight logos.
You don’t need a dedicated SVG plugin to fix this issue.
In this article, I’ll share how to allow SVG uploads safely using a simple code snippet without adding unnecessary bloat.
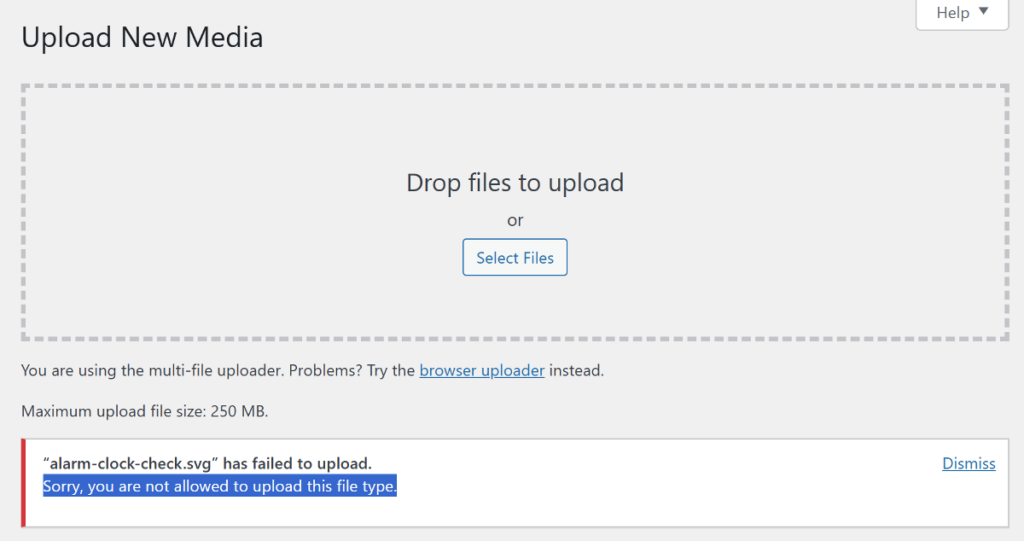
When you try to upload a vector file to a WordPress site, you will likely see an error stating “Sorry, you are not allowed to upload this file type.”
SVGs offer infinite scalability because they are vector-based rather than pixel-based. This means your logos, icons, and illustrations stay perfectly sharp regardless of the screen size or resolution.
SVGs also provide better performance than traditional image formats. As they’re essentially code, the file sizes are significantly smaller than equivalent PNG or JPEG files.
You can also manipulate SVGs directly with CSS to change colors or add animations. This flexibility allows you to create interactive elements without needing multiple image versions for different states.
WordPress blocks SVGs by default as they’re essentially XML documents rather than flat image files. Unlike a standard JPEG, an SVG can contain executable scripts and code. This creates a risk for Cross-Site Scripting (XSS) attacks if a malicious file is uploaded and executed within your site’s environment.
Enabling SVG uploads is safe as long as you follow a strict trusted source policy. You should only upload files that you have created yourself or downloaded from reputable, trusted icon libraries. These websites generate clean vector data and do not include the hidden malicious scripts found in files from untrustworthy web sources.

The risk is minimal for sites where only a few administrators have media library access. However, if you allow guest authors or untrusted users to upload files, you should be more cautious.
You can bypass the WordPress upload restriction by adding SVGs to the list of permitted MIME types. This specific snippet allows administrators to upload .svg and .svgz files while keeping restrictions in place for other user roles.
<?php

function allow_svg_for_admins ($mimes) {
    if(current_user_can('manage_options')) {
        $mimes ['svg'] = 'image/svg+xml';
    }

    return $mimes;
}

add_filter('upload_mimes', 'allow_svg_for_admins');
This code uses a conditional check to verify the user’s permissions before modifying the allowed file types. If the user is an administrator, the media library will accept .svg files; otherwise, the default security block remains active. This approach gives you the flexibility to use professional graphics without opening the door to every user role.
Adding this code to your theme’s functions.php file is a common method, but manual file editing often leads to serious technical issues. Your custom code can disappear every time you update your theme, forcing you to re-add your snippets manually. A single misplaced character can also trigger a critical error that can take your entire website offline.
A snippet plugin eliminates these risks by running your code independently from your theme. WPCodeBox is the best plugin for this use case as it allows you to manage all your PHP, CSS, SCSS, and JavaScript snippets from one organized dashboard.

WPCodeBox creates a secure execution environment with intelligent error detection that prevents most mistakes from breaking your site. This ensures your SVG support stays active even when you switch themes or run updates.
To add the SVG snippet to your site using WPCodeBox, follow these steps:

Your media library is now ready to accept high-quality vector graphics. WPCodeBox keeps this functionality active even if you switch or update your WordPress theme. You can now upload your brand assets in high quality without worrying about security.
You can verify the change by navigating to Media > Add New in your dashboard. Drag an SVG file from your computer and drop it into the upload area. Instead of a security error, you should see the file upload successfully and appear as a thumbnail in your library.

Now, switch to another user role with lower permissions, such as an Author or Contributor, and try to upload the same SVG file. The upload should fail with the standard “file type is not permitted” error. This confirms that your code is working and protecting the site by limiting SVG access only to administrators.
That’s it! You can now start using your SVGs in the block editor or page builders just like a standard JPEG or PNG.
1. How to enable SVG upload in Elementor?
You can enable SVG uploads in Elementor by navigating to Elementor > Settings > Advanced and toggling the “Enable Unfiltered File Uploads” option to “Enable.” Elementor also provides an “Enable SVG Upload” prompt when you first try to add an icon in the editor. However, using a global code snippet is often better because it ensures SVG support is active across your entire site, not just within Elementor widgets.
2. How to upload an SVG image in WordPress without a plugin?
You can upload SVGs without a plugin by adding a simple PHP filter to your site that whitelists the SVG MIME type. This tells the WordPress media library that .svg , and .svgz files are safe to accept. This method lets you avoid the bloat of a dedicated media plugin while allowing you to use crisp vector graphics for your logos and icons.


