Hola amigo, are you looking for the ad-hoc database queries plugin in moodle? You are at right place, here we will see how to set up this plugin and how to use this. Let’s get started with the basic overview of what this plugin do. Before that you can download this from https://moodle.org/plugins/report_customsql you will also get some basic information about this plugin over there. Here the main focus is to start using this plugin. Ad-hoc is a business intelligence process in which dynamic, real-time data reports are created by the user on an as-needed basis.
Overview of ‘ad-hoc db queries’
This plugin allows the administration to run the database queries on demand or at a scheduled time. It helps the admin to get the queries result simply via email or directly exporting in csv, html table, etc. It do not bother the admin to look for desired result from GUI which have the ocean of links in Moodle. So, we will look at usage of this plugin rather than installation which you can see on Moodle’s guide https://docs.moodle.org/39/en/Installing_plugins
After installation of this plugin
In order to use this plugin head toward the Site administration from Admin account. To reach this plugin for use go to Site administration -> Reports(from sub nav menu) -> Ad-hoc database queries. You will be on plugin usage page.
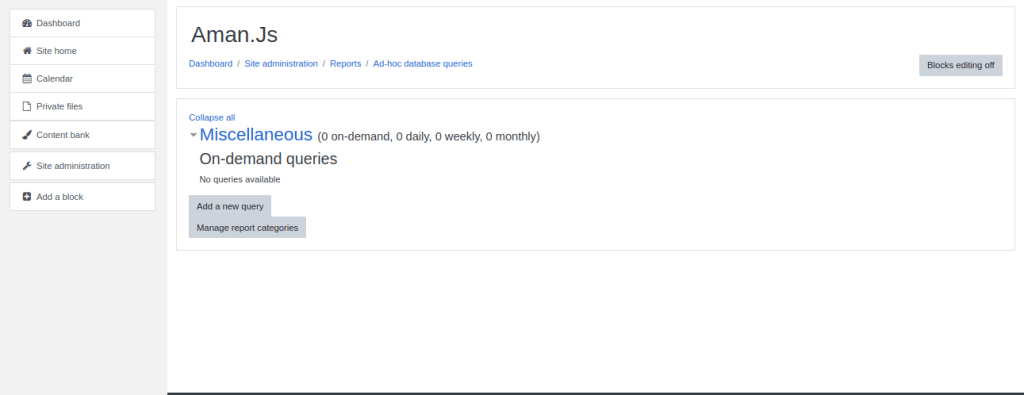
Now click on ‘Add a new query’. It will open a page to configure the queries. It will have some different options in form. You can also manage the category of the queries on this page.
On ‘Add a new query’ you will see a form all the options of form are described below:

Category: It defines the category to which the sql query belongs.
Query Name: Here you can give name to the query.
Description: It is used to give detailed description of query.
Query SQL: You write the actual query here. There are some instruction writing queries some are given on next entity on form that is Notes. In order to use the table from database you need the prefix_. For instance I want to access the ‘user’ table from database. I will write ‘SELECT * FROM prefix_user’ (without single quote) It will give the output; suppose my tables have prefix mdl. Then the query is ‘SELECT * FROM mdl_user’ You can add filters in order to get the desired output form database. Though It require in-depth knowledge of database of moodle and how tables are working in backend. So that, you can apply the sql.

After writing the query you can check the query by clicking ‘Verify the Query SQL text and update the form’.
Notes: It have some basic instructions regarding to usage of sql query.
Who can access this query: It has some basic list of access that is:
- Anyone who can view this report (report/customsql:view)
- Users who can see system reports (moodle/site:viewreports)
- Only administrators (moodle/site:config)
You can use suitable option from here.
Limit on rows returned: You can limit the number of rows to be returned and showed in output. To avoid long unnecessary data.
Run: Here you can set the time when to run and how to run. It can be run by two methods:
- On Demand: When you click run
- Schedule: At a particular time
Type of result: It has a checkbox to enable option ‘The query returns one row, accumulate the results one row at a time’
Export csv report to path / directory: It will save the output file directly to the specified directory. Note that It runs only when the query is scheduled.
Automatically email to: Takes email as input where the query result will be mailed. It also runs only when the query is scheduled.
What to email: It has two options which gets enable only when the query is scheduled, that are:
- Just the number of rows and the link
- Put the results in the email body
In the end, click on save changes the query will run according to your configurations.
Conclusion
You can have multiple set of queries which can give you output in some fraction of seconds which can also be seen on list of queries on plugin usage page, which show how much time was taken by the query to execute. In order to get some value from this plugin you must have good knowledge about the database and tables.
