


How to Add a WordPress Taxonomy Filter to Your Site?
The usage of the WordPress taxonomy filter plugin is pretty straightforward and doesn’t require any complicated configuration or server requirements. All you need is to make sure that your WordPress version is 6.5 or above. It is because the plugin uses the brand new interactivity API, which is the reason why it is so simple and fast.
First of all, let’s just go ahead and go to Plugins > All plugins and activate the plugin.
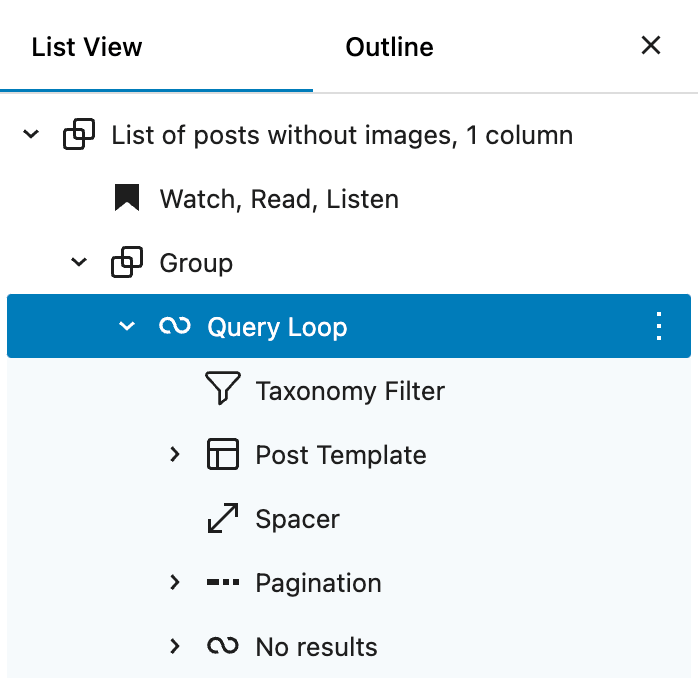
That’s it, and now you can use it inside a “Query Loop” block.

I will repeat that again – if you can not find a “Taxonomy Filter” block in the inserter, just make sure that you’re trying to add it inside a “Query Loop” block.
In case you added an AJAX category filter to your website but somehow it happens that it is not AJAX (reloads a site page every time), then make sure that your “Query Block” isn’t using a specific setting – “Reload full page” (former “Force Page Reload”), because basically what it does it just turns off AJAX.
So just uncheck the checkbox below:

No more configuration is needed :) Now, we can check some examples below.
Filter Examples
Let’s take a look at some WordPress taxonomy filter examples in order to get a clear understanding of how to configure it for certain scenarios.
Example 1. Creating a custom post type filter by taxonomy
In case you want to filter a custom post type by taxonomy, you need to keep in mind two things:
- Both custom post type and custom taxonomy should be allowed for the REST API,
- The custom taxonomy should be added for this specific custom post type (sounds obvious, but just in case).
For example, in my case, I want to filter regular WordPress posts by a custom taxonomy “Cities”, how can I do that?
First of all, let’s make sure that our custom taxonomy is allowed for the REST API. If you registered it in the code with the register_taxonomy() function, you need to use the following configuration:
register_taxonomy(
	'city',
	'post', // a post type name our custom taxonomy is added to
	array(
		...

		'show_in_rest' => true, // this parameter should be set to true
	)
);
But sometimes, when you’re registering a custom taxonomy with the help of another plugin (I think the most popular one is CPT UI), make sure to turn this option on:

That’s pretty much it, and now you can filter posts by a custom taxonomy “Cities”:
Example 2. Creating multiple taxonomy filters
My plugin also allows you to create multiple WordPress custom taxonomy filters on your website. Basically all you need to do is to add a “Taxonomy Filter” Gutenberg block two times to the same “Query Loop” block.
Please watch the video below, where I show how to create one:
Example 3. Taxonomy filter block styles
The plugin also allows to customize the WordPress taxonomy filter styles:
- Text color, hover text color, and active text color,
- Background color, hover background color, and active background color,
- Font size,
- Margins and paddings,
- Border color, width, and radius.
You can see how it works in the video below: