

Command Terminal offers the most straightforward way to install applications on Linux. However, if you’re looking to install Vim on Ubuntu without opening the terminal, then we can do that as well, and that is what we are going to discuss in this tutorial. Whether you’re new to Linux or prefer graphical interfaces, we will walk you through multiple GUI-based methods to get Vim up and running on your Ubuntu system without a command line required.
What is Vim and Why Install It?
Vim (Vi Improved) is a powerful text editor that has been a staple of the Linux community for decades. While Ubuntu comes with basic text editors like Nano and Gedit, Vim offers advanced features that make it worth installing:
- Syntax highlighting for dozens of programming languages
- Lightning-fast editing once you learn the shortcuts
- Minimal resource usage compared to modern IDEs
- Available on virtually every Unix-like system
- Extensive plugin ecosystem for customization
The best part? You don’t need to be a terminal wizard to install it. Ubuntu’s graphical tools make the installation process as simple as installing any other application.
Understanding Vim Variants
One important thing you should know is that there are two main Vim packages:
- Vim: The traditional terminal-based version
- NeoVim – Offers both a Terminal and a Graphical interface.
Installing Through Ubuntu Software Package Manager (App Center)
The Ubuntu Software application is the easiest way for those who want to install Vim without using the Terminal on their Ubuntu Linux. Not only VIM, in fact, Ubuntu Software (Linux APP Store) is your gateway to thousands of programs. This method works on all standard Ubuntu installations and on most Ubuntu-based distributions, such as Zorin OS and Elementary OS.
Step-by-Step Installation Process
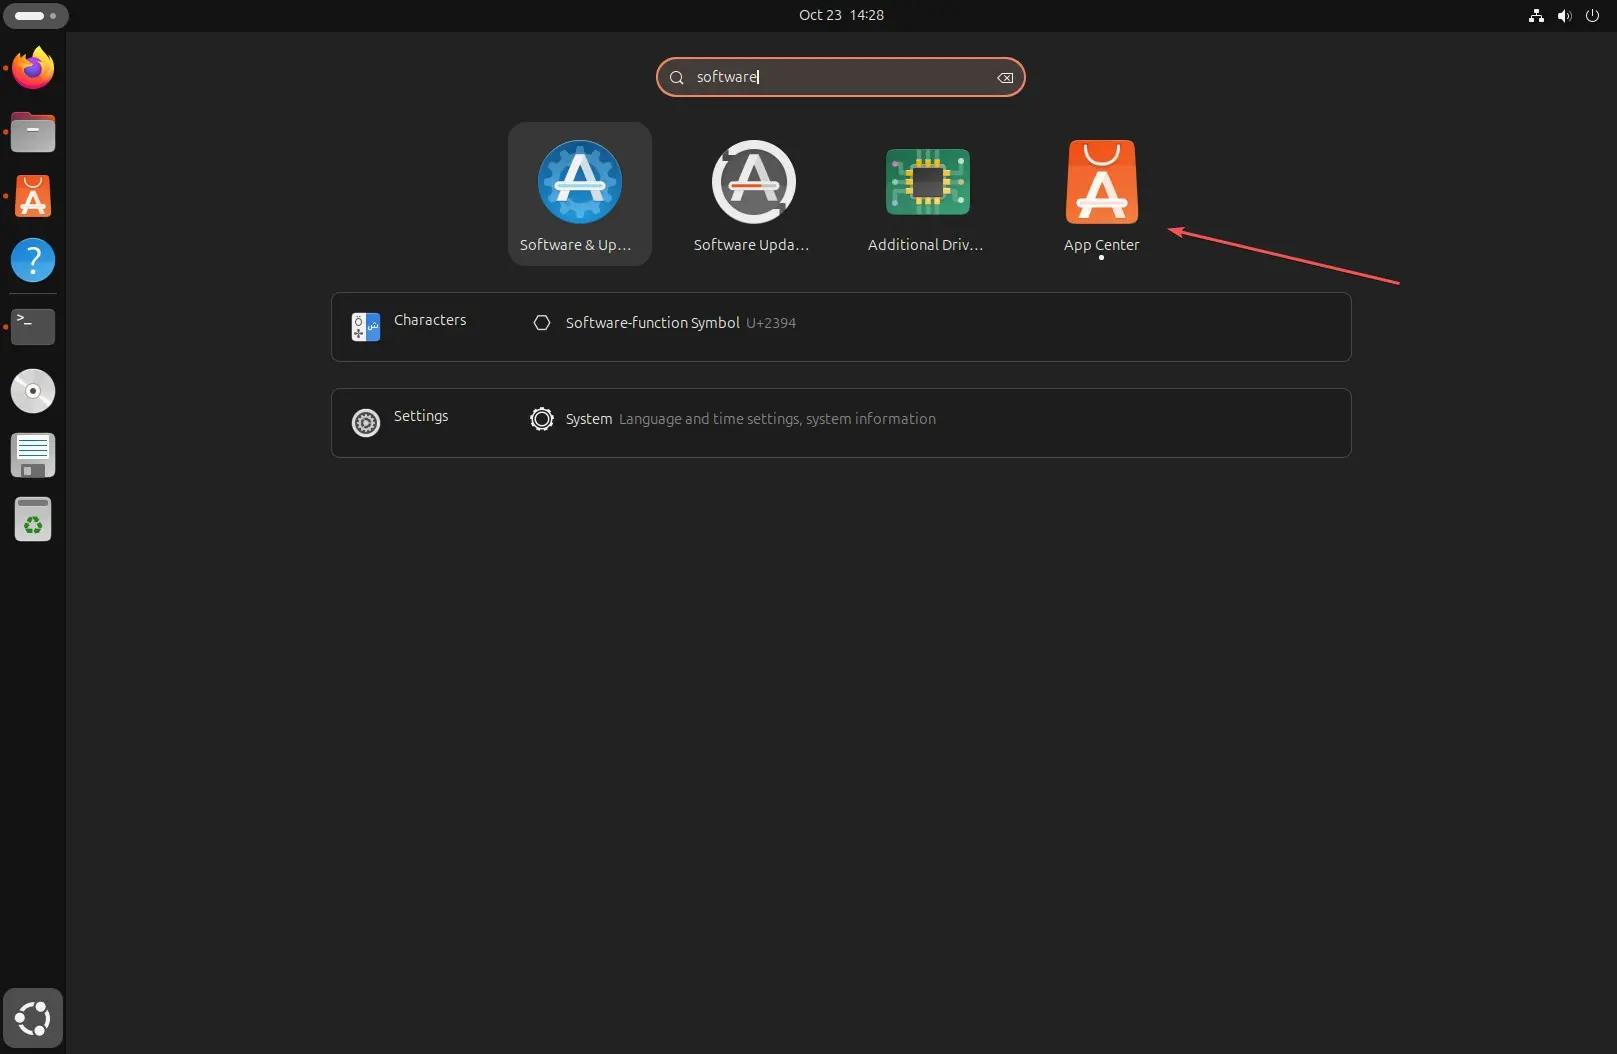
Step 1: Open Ubuntu Software: Click the orange shopping bag icon in your dock, or press the Super key (Windows key) and type “Ubuntu Software” to find it.
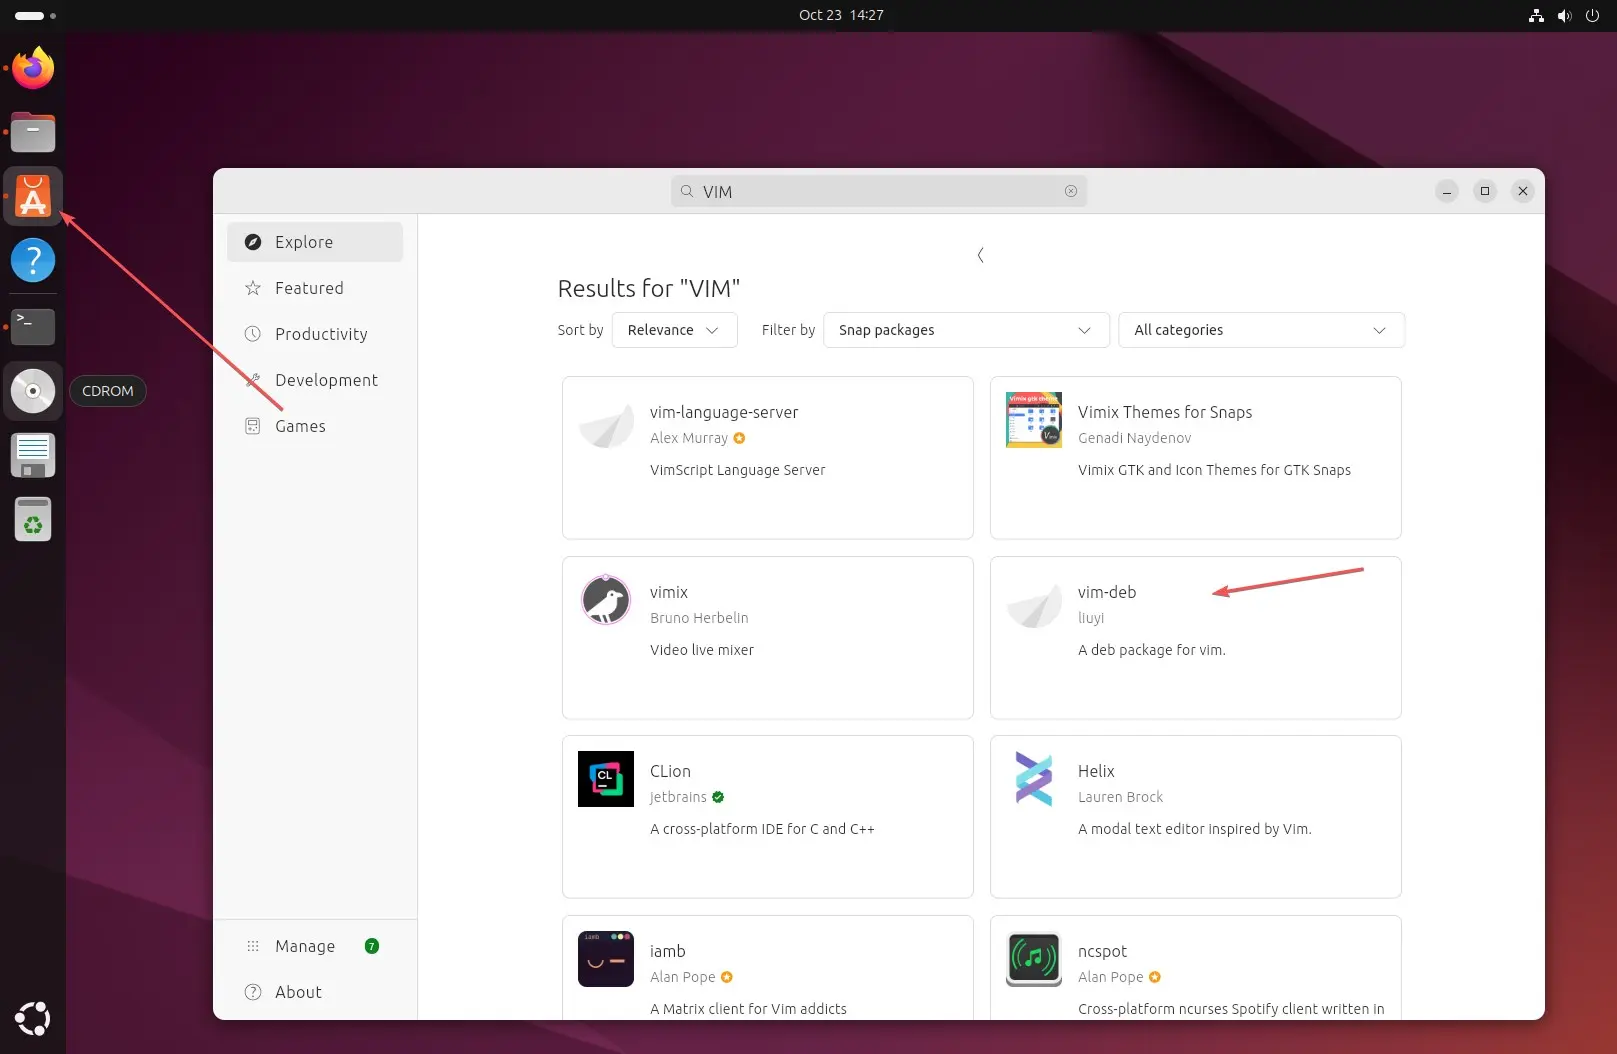
Step 2: Search for Vim: In the search bar at the top, type “vim” and press Enter. You’ll see several results—here’s what each means:
- Vim–deb: The standard terminal version.
- NeoVim: Includes both graphical and terminal versions
Choose Your Package: For most users, selecting “VIM-deb” would be enough if you want terminal version, however, as the one who is looking to install the VIM without terminal, hence you would be looking for a graphical Terminal version of VIM, hence I recommend to go for “NeoVIM“. Click on your chosen package to see more details.
For installing the VIM Debian package, select the “vim-deb” package and click the Install button.
Once done, open your terminal and type the given command to check the version. Learn– How to Delete all lines in VI / VIM text editor at once
vim-debBy default, you need to use “vim-deb” to use it in your terminal, to use a short command line version such as ‘vim’, for this, we can set an alias:
echo "alias vim='/snap/bin/vim-deb'" >> ~/.bashrc && source ~/.bashrcKnowing how to run simple “vim” allows you to edit files.
Get NeoVim (Recommended)
However, the article focuses on installing VIM without using Terminal; hence, it is recommended to go with NeoVim. For that, select “NeoVim”.

Install the Application: Click the green “Install” button. Ubuntu will prompt for your password—enter it and click “Authenticate.”

Wait for Installation: The process typically takes 30-60 seconds, depending on your internet speed. You’ll see a progress bar during download and installation.
Launch NeoVim: Once installed, you can find NeoVim in your applications menu. Press the Super key and search for “Vim” to launch it.

Conclusion
Installing Vim on Ubuntu without using the terminal is not as straightforward as using the command line; however, at least we can do it with a GUI.


