---
createdAt: 2025-04-18
updatedAt: 2026-05-31
title: "Angular 21 i18n - Complete guide to translate your app"
description: "No more i18next. The 2026 guide to building a multilingual (i18n) Angular 21 app. Translate with AI agents and optimize bundle size, SEO and performances."
keywords:
- Internationalization
- Documentation
- Intlayer
- Angular
- JavaScript
slugs:
- doc
- environment
- angular
applicationTemplate: https://github.com/aymericzip/intlayer-angular-21-template
applicationShowcase: https://intlayer-angular-21-template.vercel.app/
history:
- version: 8.9.0
date: 2026-05-04
changes: "Update Solid useIntlayer API usage to direct property access"
- version: 8.0.0
date: 2026-01-26
changes: "Release stable version"
- version: 8.0.0
date: 2025-12-30
changes: "Add init command"
- version: 5.5.10
date: 2025-06-29
changes: "Initial history"
---
# Translate your Angular 21 (Vite) website using Intlayer | Internationalization (i18n)
## Table of Contents
## Why Intlayer over alternatives?
Compared to main solutions like `ngx-translate` or `angular-l10n`, Intlayer is a solution that comes with integrated optimizations such as:
Intlayer is optimized to work perfectly with Angular by offering **component-level content scoping**, **lazy-loaded translations**, and all the features needed for scaling internationalization (i18n).
Instead of loading massive JSON files into your pages, load only the necessary content. Intlayer helps **reduce your bundle and page sizes by up to 50%**.
Scoping your application's content **facilitates maintenance** for large-scale applications. You can duplicate or delete a single feature folder without the mental burden of reviewing your entire content codebase. Additionally, Intlayer is **fully typed** to ensure your content's accuracy.
Co-locating content **reduces the context needed** by Large Language Models (LLMs). Intlayer also comes with a suite of tools, such as a **CLI** to test for missing translations,**[LSP](https://github.com/aymericzip/intlayer/blob/main/docs/docs/en/lsp.md)**, **[MCP](https://github.com/aymericzip/intlayer/blob/main/docs/docs/en/mcp_server.md)**, and **[agent skills](https://github.com/aymericzip/intlayer/blob/main/docs/docs/en/agent_skills.md)**, to make the developer experience (DX) even smoother for AI agents.
Use automation to translate in your CI/CD pipeline using the LLM of your choice at the cost of your AI provider. Intlayer also offers a **compiler** to automate content extraction, as well as a [web platform](https://github.com/aymericzip/intlayer/blob/main/docs/docs/en/intlayer_CMS.md) to help **translate in the background**.
Connecting massive JSON files to components can lead to performance and reactivity issues. Intlayer optimizes your content loading at build time.
More than just an i18n solution, Intlayer provides an **self-hosted [visual editor](https://github.com/aymericzip/intlayer/blob/main/docs/docs/en/intlayer_visual_editor.md)** and a **[full CMS](https://github.com/aymericzip/intlayer/blob/main/docs/docs/en/intlayer_CMS.md)** to help you manage your multilingual content in **real-time**, making collaboration with translators, copywriters, and other team members seamless. Content can be stored locally and/or remotely.
---
## Step-by-Step Guide to Set Up Intlayer in an Angular Application
See [Application Template](https://github.com/aymericzip/intlayer-angular-21-template) on GitHub.
Install the necessary packages using npm:
```bash packageManager="npm"
npm install intlayer angular-intlayer
npm install @angular-builders/custom-esbuild --save-dev
npx intlayer init
```
```bash packageManager="pnpm"
pnpm add intlayer angular-intlayer
pnpm add @angular-builders/custom-esbuild --save-dev
pnpm intlayer init
```
```bash packageManager="yarn"
yarn add intlayer angular-intlayer
yarn add @angular-builders/custom-esbuild --save-dev
yarn intlayer init
```
```bash packageManager="bun"
bun add intlayer angular-intlayer
bun add @angular-builders/custom-esbuild --dev
bun x intlayer init
```
- **intlayer**
The core package that provides internationalization tools for configuration management, translation, [content declaration](https://github.com/aymericzip/intlayer/blob/main/docs/docs/en/dictionary/content_file.md), transpilation, and [CLI commands](https://github.com/aymericzip/intlayer/blob/main/docs/docs/en/cli/index.md).
- **angular-intlayer**
The package that integrates Intlayer with Angular application. It provides context providers and hooks for Angular internationalization.
- **@angular-builders/custom-esbuild**
Required to customize the esbuild configuration of Angular CLI.
Create a config file to configure the languages of your application:
```typescript fileName="intlayer.config.ts" codeFormat={["typescript", "esm", "commonjs"]}
import { Locales, type IntlayerConfig } from "intlayer";
const config: IntlayerConfig = {
internationalization: {
locales: [
Locales.ENGLISH,
Locales.FRENCH,
Locales.SPANISH,
// Your other locales
],
defaultLocale: Locales.ENGLISH,
},
};
export default config;
```
> Through this configuration file, you can set up localized URLs, middleware redirection, cookie names, the location and extension of your content declarations, disable Intlayer logs in the console, and more. For a complete list of available parameters, refer to the [configuration documentation](https://github.com/aymericzip/intlayer/blob/main/docs/docs/en/configuration.md).
To integrate Intlayer with the Angular CLI, you need to use a custom builder. This guide assumes you are using Vite/esbuild (default for Angular 21 projects).
First, modify your `angular.json` to use the custom esbuild builder. Update the `build` and `serve` configurations:
```json5 fileName="angular.json"
{
"projects": {
"your-app-name": {
"architect": {
"build": {
"builder": "@angular-builders/custom-esbuild:application", // replace "@angular/build:application"
"options": {
"define": {
"process.env": "{}",
},
"plugins": ["./esbuild.plugins.ts"],
"browser": "src/main.ts",
// ...
},
},
"serve": {
"builder": "@angular-builders/custom-esbuild:dev-server", // replace "@angular/build:dev-server"
"options": {
"prebundle": {
"exclude": [
"intlayer",
"angular-intlayer",
"@intlayer/config/built",
"@intlayer/core"
]
},
},
},
},
},
}
```
> Make sure to replace `your-app-name` with the actual name of your project in `angular.json`.
Next, create a `esbuild.plugins.ts` file at the root of your project:
```typescript fileName="esbuild.plugins.ts"
import { intlayerEsbuildPlugin } from "angular-intlayer/esbuild";
export default [intlayerEsbuildPlugin()];
```
> The `intlayerEsbuildPlugin` function configures esbuild with Intlayer. It injects the plugin to handle content declaration files and sets up configurations for optimal performance.
> **NX users**: NX's Angular builders load plugin files via Node's native ESM resolution and do not compile TypeScript plugin files on the fly. Use a `.mjs` file instead and update the `plugins` reference in `angular.json` accordingly:
>
> ```javascript fileName="esbuild.plugins.mjs"
> import { intlayerEsbuildPlugin } from "angular-intlayer/esbuild";
>
> export default [intlayerEsbuildPlugin()];
> ```
>
> Then in `angular.json` point to `"./esbuild.plugins.mjs"` instead of `"./esbuild.plugins.ts"`.
Create and manage your content declarations to store translations:
```tsx fileName="src/app/app.content.ts" contentDeclarationFormat=["typescript", "esm", "cjs"]
import { t, type Dictionary } from "intlayer";
const appContent = {
key: "app",
content: {
title: t({
en: "Hello",
fr: "Bonjour",
es: "Hola",
}),
congratulations: t({
en: "Congratulations! Your app is running. 🎉",
fr: "Félicitations! Votre application est en cours d'exécution. 🎉",
es: "¡Felicidades! Tu aplicación está en ejecución. 🎉",
}),
exploreDocs: t({
en: "Explore the Docs",
fr: "Explorer les Docs",
es: "Explorar los Docs",
}),
learnWithTutorials: t({
en: "Learn with Tutorials",
fr: "Apprendre avec les Tutoriels",
es: "Aprender con los Tutorios",
}),
cliDocs: "CLI Docs",
angularLanguageService: t({
en: "Angular Language Service",
fr: "Service de Langage Angular",
es: "Servicio de Lenguaje Angular",
}),
angularDevTools: "Angular DevTools",
github: "Github",
twitter: "Twitter",
youtube: "Youtube",
},
} satisfies Dictionary;
export default appContent;
```
> Your content declarations can be defined anywhere in your application as soon they are included into the `contentDir` directory (by default, `./src`). And match the content declaration file extension (by default, `.content.{json,ts,tsx,js,jsx,mjs,cjs,md,mdx,yaml,yml}`).
> For more details, refer to the [content declaration documentation](https://github.com/aymericzip/intlayer/blob/main/docs/docs/en/dictionary/content_file.md).
To utilize Intlayer's internationalization features throughout your Angular application, you need to provide Intlayer in your application configuration.
```typescript fileName="src/app/app.config.ts"
import { ApplicationConfig } from "@angular/core";
import { provideRouter } from "@angular/router";
import { provideIntlayer } from "angular-intlayer";
import { routes } from "./app.routes";
export const appConfig: ApplicationConfig = {
providers: [
provideRouter(routes),
provideIntlayer(), // Add the Intlayer provider here
],
};
```
Then, you can use the `useIntlayer` function within any component.
```typescript fileName="src/app/app.component.ts"
import { Component } from "@angular/core";
import { RouterOutlet } from "@angular/router";
import { useIntlayer } from "angular-intlayer";
@Component({
selector: "app-root",
standalone: true,
imports: [RouterOutlet],
templateUrl: "./app.component.html",
styleUrl: "./app.component.css",
})
export class AppComponent {
content = useIntlayer("app");
}
```
And in your template:
```html fileName="src/app/app.component.html"
{{ content().title }}
{{ content().congratulations }}
```
Intlayer content is returned as a `Signal`, so you access the values by calling the signal: `content().title`.
To change the language of your content, you can use the `setLocale` function provided by the `useLocale` function. This allows you to set the locale of the application and update the content accordingly.
Create a component to switch between languages:
```typescript fileName="src/app/locale-switcher.component.ts"
import { Component } from "@angular/core";
import { CommonModule } from "@angular/common";
import { useLocale } from "angular-intlayer";
@Component({
selector: "app-locale-switcher",
standalone: true,
imports: [CommonModule],
template: `
`,
})
export class LocaleSwitcherComponent {
localeCtx = useLocale();
locale = this.localeCtx.locale;
availableLocales = this.localeCtx.availableLocales;
setLocale = this.localeCtx.setLocale;
}
```
Then, use this component in your `app.component.ts`:
```typescript fileName="src/app/app.component.ts"
import { Component } from "@angular/core";
import { RouterOutlet } from "@angular/router";
import { useIntlayer } from "angular-intlayer";
import { LocaleSwitcherComponent } from "./locale-switcher.component";
@Component({
selector: "app-root",
standalone: true,
imports: [RouterOutlet, LocaleSwitcherComponent],
templateUrl: "./app.component.html",
styleUrl: "./app.component.css",
})
export class AppComponent {
content = useIntlayer("app");
}
```
### Configure TypeScript
Intlayer uses module augmentation to get benefits of TypeScript and make your codebase stronger.
Ensure your TypeScript configuration includes the autogenerated types.
```json5 fileName="tsconfig.json"
{
// ... Your existing TypeScript configurations
"include": [
// ... Your existing TypeScript configurations
".intlayer/**/*.ts", // Include the auto-generated types
],
}
```
### Git Configuration
It is recommended to ignore the files generated by Intlayer. This allows you to avoid committing them to your Git repository.
To do this, you can add the following instructions to your `.gitignore` file:
```bash
# Ignore the files generated by Intlayer
.intlayer
```
### VS Code Extension
To improve your development experience with Intlayer, you can install the official **Intlayer VS Code Extension**.
[Install from the VS Code Marketplace](https://marketplace.visualstudio.com/items?itemName=intlayer.intlayer-vs-code-extension)
This extension provides:
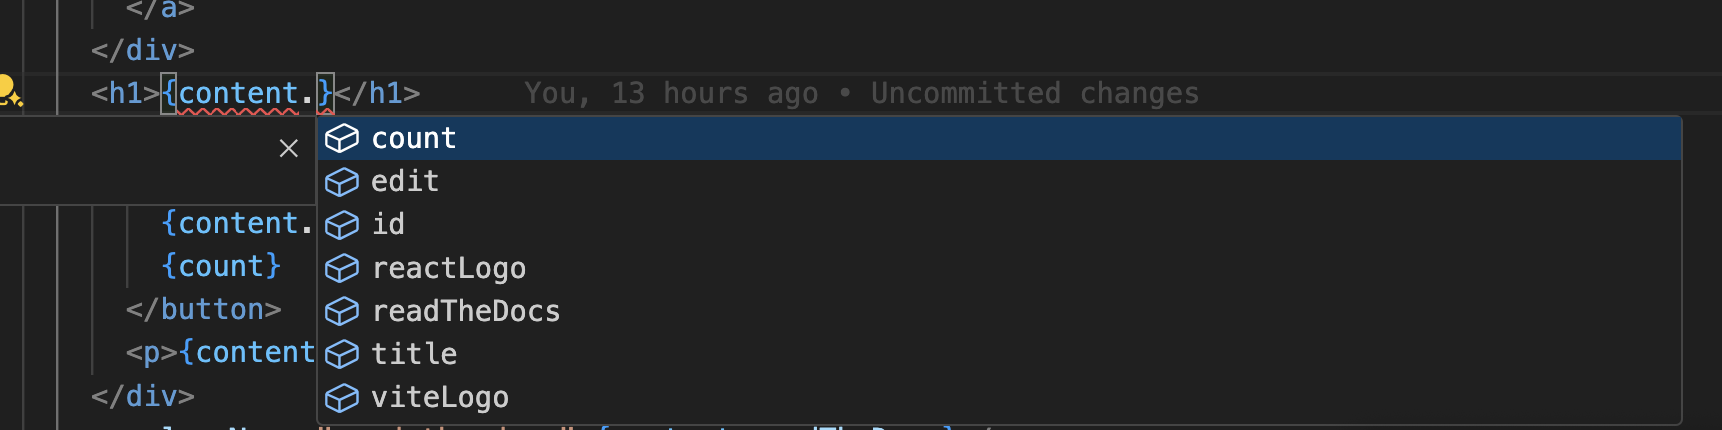
- **Autocompletion** for translation keys.
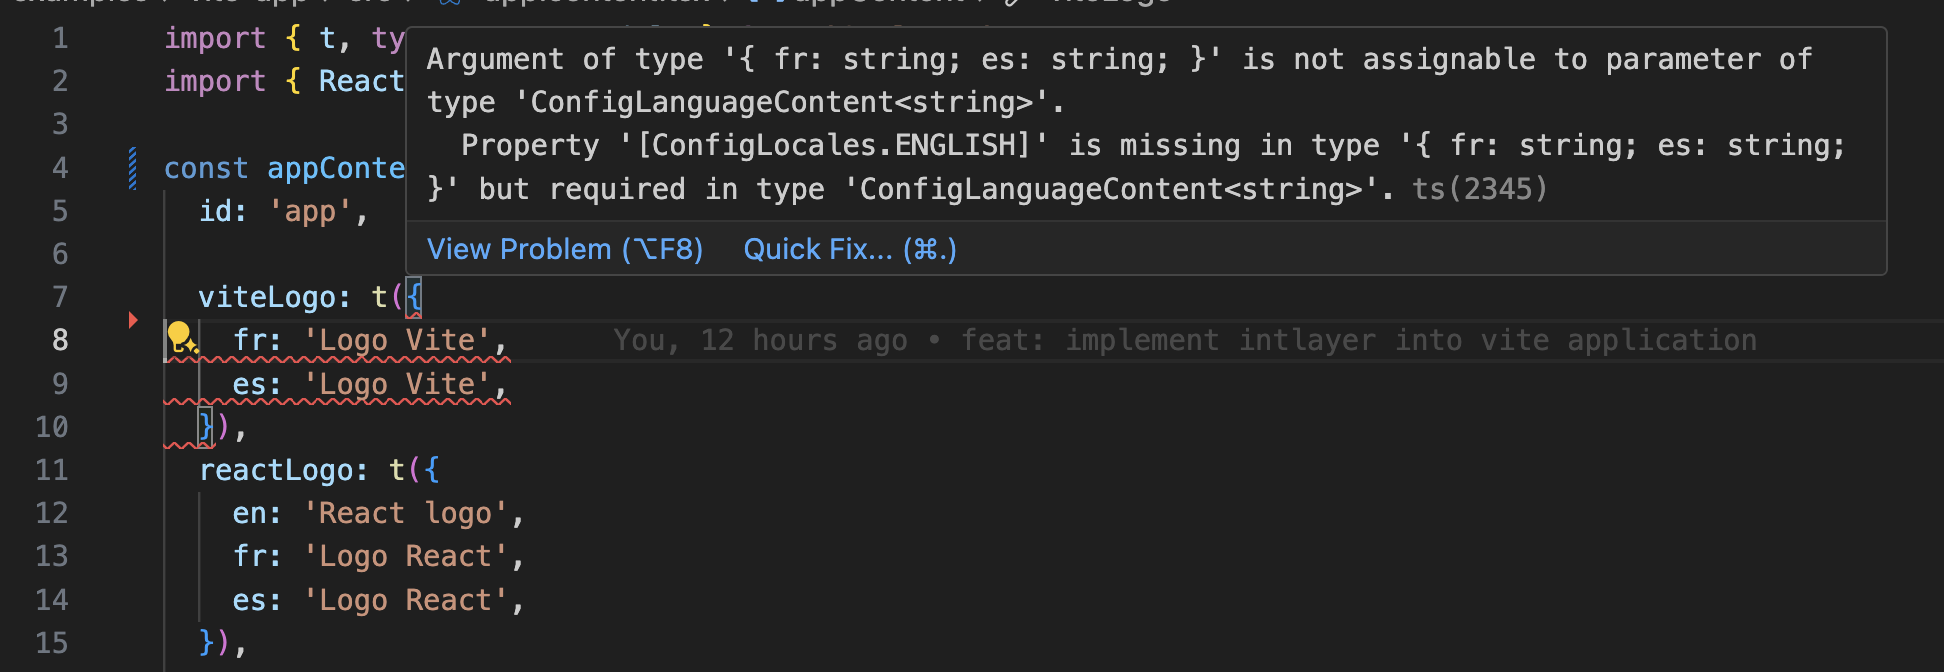
- **Real-time error detection** for missing translations.
- **Inline previews** of translated content.
- **Quick actions** to easily create and update translations.
For more details on how to use the extension, refer to the [Intlayer VS Code Extension documentation](https://intlayer.org/doc/vs-code-extension).
---
### Go Further
To go further, you can implement the [visual editor](https://github.com/aymericzip/intlayer/blob/main/docs/docs/en/intlayer_visual_editor.md) or externalize your content using the [CMS](https://github.com/aymericzip/intlayer/blob/main/docs/docs/en/intlayer_CMS.md).
---