Welcome to Expense Tracker (Budgetify), your personal finance companion! Manage your expenses, set budgets, and stay on top of your finances with ease.
Budgetify is a feature-rich web application designed to simplify your financial management. Whether you're a budgeting pro or just starting, Expense Tracker offers intuitive tools to help you stay organized and in control of your finances.
With Budgetify, you can:
- Track Expenses: Add, view, update, and delete expenses effortlessly.
- Set Budgets: Establish spending limits and monitor your progress.
- Receive Reminders: Never miss a bill payment or an upcoming expense again.
- Secure Authentication: Keep your financial data safe with our robust authentication system.
Say goodbye to the hassle of managing spreadsheets or keeping receipts in shoeboxes. Expense Tracker puts your finances at your fingertips, allowing you to focus on what matters most.
- User Authentication: Secure login and registration system to protect your financial data.
- Expense Management: Add, view, update, and delete expenses with ease.
- Budget Tracking: Set budgets and track your spending against them to stay within your financial goals.
- Reminder System: Receive timely reminders for upcoming bills and expenses.
- Responsive Design: Access Expense Tracker on any device, whether it's your desktop, tablet, or smartphone.
Budgetify is powered by the following technologies:
- Backend: Python Flask, SQLAlchemy
- Frontend: ReactJS, JavaScript, HTML, CSS
- Database: SQLite (for development), MySQL Cluster (for production)
- Deployment: Degitalociane, 2 droplets and one db cluster.
To run Budgetify locally on your machine, follow these steps:
- Clone the repository:
git clone https://github.com/EL-HOUSS-BRAHIM/Budgetify.git - Navigate to the project directory:
cd Budgetify - Install dependencies for the frontend and backend:
- Frontend:
cd frontend && npm install - Backend:
pip install -r requirements.txt(use venv for better production environment)
- Frontend:
- Set up the database:
- Run migrations:
flask db upgrade(run config script to save your secret key's and create .env file)
- Run migrations:
- Start the backend server:
flask run(in production you can use gunicorn and nginx) - Start the frontend server:
npm start(use nginx and socket on linux for production)
That's it! You can now access Budgetify in your web browser at http://localhost:3000 or at your public IP address.
- Register/Login: Create an account or log in to your existing account.
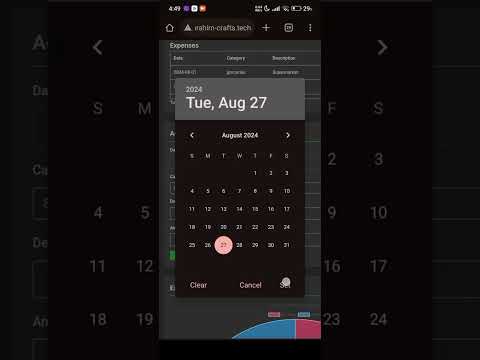
- Add Expenses: Record your expenses by entering details such as the amount, category, and date.
- Set Budgets: Define spending limits for different categories to manage your finances effectively.
- Receive Reminders: Stay on top of your bills and payments with timely reminders.
- Explore More: Discover additional features like expense analytics, budget insights, and more!
Budgetify is an ALX MVP project by Brahim El Houss. Contributions are welcome! If you'd like to contribute to Expense Tracker, please fork the repository, make your changes, and submit a pull request. Be sure to follow the project's coding conventions and guidelines.
Budgetify is licensed under the MIT License. Feel free to use, modify, and distribute the code as per the terms of the license.