In this procedure we’ll install the KenCast FAZZT Professional Client on Windows, using the files provided by KenCast on the FAZZT DVD. The procedure should work for both FAZZT v9 and v10.
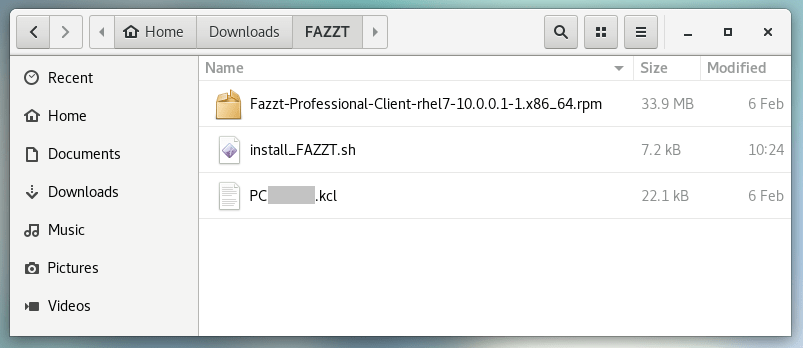
The DVD provided by KenCast (or downloaded via an FTP, also provided by KenCast) has the following content:

In this procedure we’ll use the content from two folders only: “3rdParty/SQLExpress” and “Fazzt/Windows”.
The FAZZT Client needs a database software to work, so in the first step we are going to install the SQL Server 2014.
STEP 1. Access the “3rdParty/SQLExpress” folder and execute the “install64.bat” file. This will install the SQL Server 2014 with the right options (as configured in the “Config64.ini”)

Note: Most of the procedure is just clicking the “Next >” button, but for reference sake, you may find screenshots from each step below (this could be useful if you’re configuring the SQL Database from scratch, withou the “.ini” file).
On the “Choose Directory For Extracted Files” pop-up window, click the “OK” button:


On the “Product Key” screen, click the “Next >” button:

On the “License Terms” screen, check the “I accept the license terms” box and click the “Next >” button:

On the “Microsoft Update” screen, check the “Use Microsoft Update to check for updates” and click the “Next >” button:

On the “Product Updates” screen, click the “Next >” button if there are no files to update:

On the “Install Rules” screen, check the computer and the conditions for SQL Server installation, then click the “Next >” button:

On the “Setup Role” screen, click the “Next >” button:

On the “Feature Selection” screen, click the “Next” button:

On the “Instance Configuration” screen, click the “Next >” button:

On the “Server Configuration” screen, click the “Next >” button:

On the “Database Engine Configuration”, click the “Next >” button:

On the “Ready to Install” screen, click the “Install” button:

The database will be installed:

On the “Complete” screen, click the “Close” button:

The SQL Server 2014 Express has been successfully installed. Press any key to close the command prompt screen:

With the database software installed, we are ready to install the FAZZT Professional Client.
STEP 2. Access the “Fazzt/Windows” folder and execute the “FazztProfessionalClient.exe” file. This will install the FAZZT Professional Client:

On the Wizard screen, click the “Next >” button:

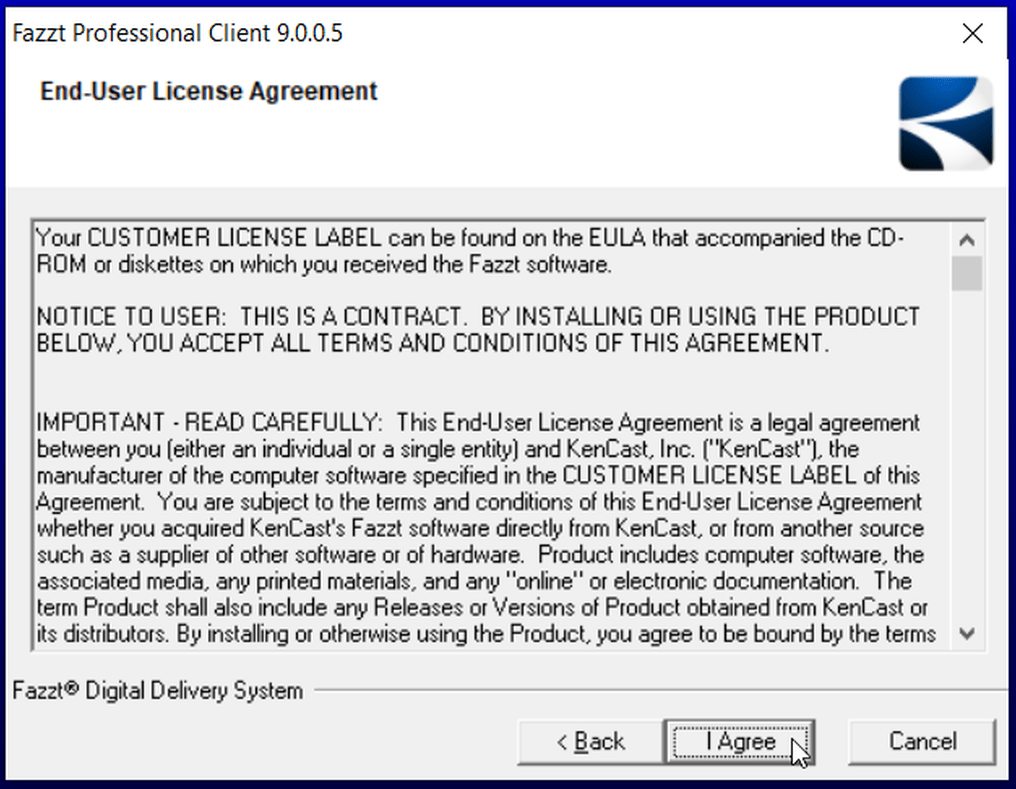
On the “End-User License Agreement”, click the “I Agree” button:
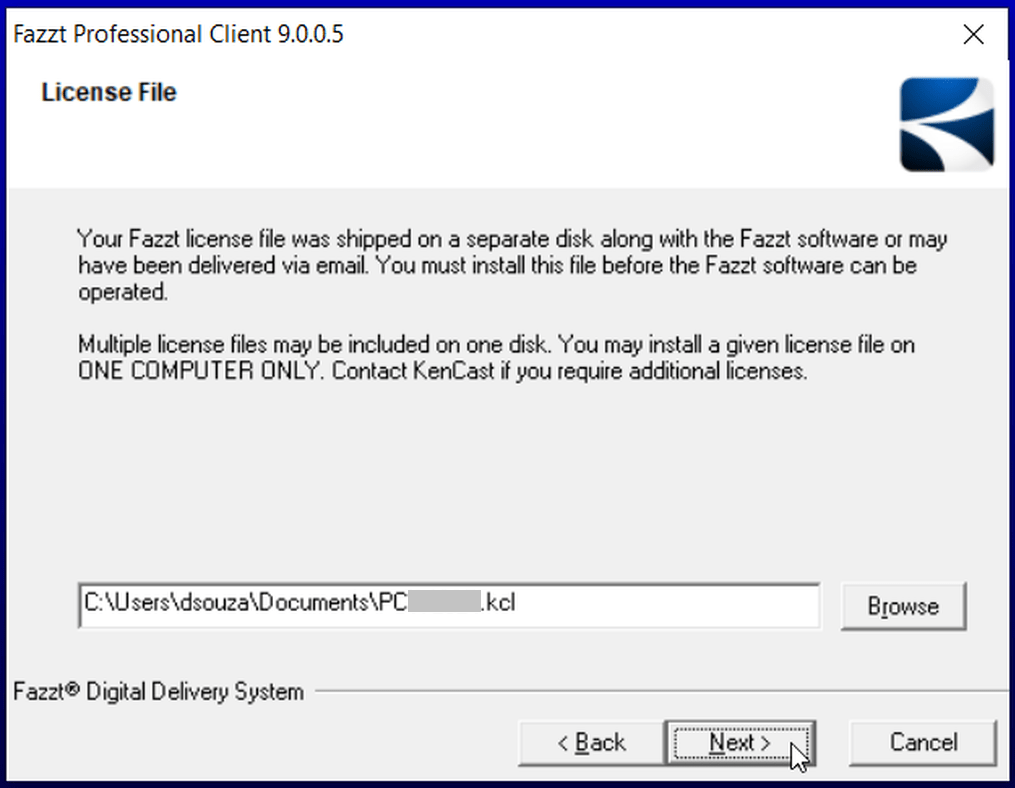
On the “License File” screen, click the “Browse” button and select the license file (“.kcl” extension), provided by KenCast. Note: The License File should be placed in advance in any folder. After installation, it will be copied to the Destination Folder specified later:
On “Select Database Server”, click the “Next >” button:

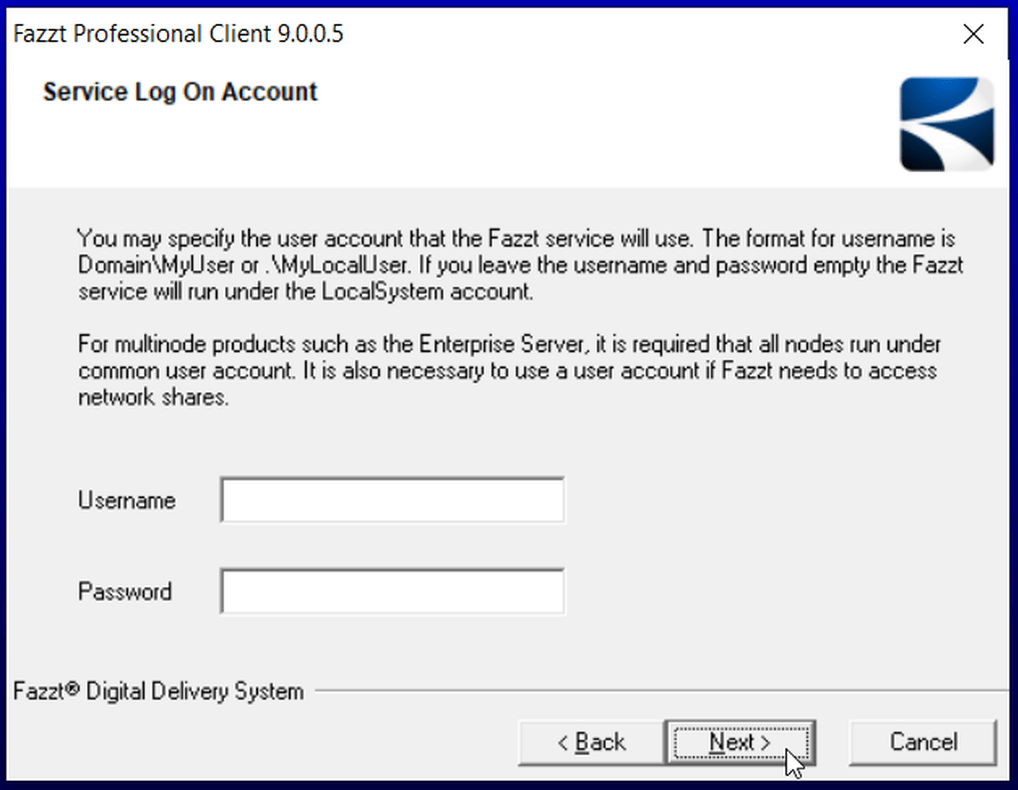
On the “Service Log On Account” screen, click the “Next >” button. The “Username” and “Password” fields can be left empty:
On the “Destination Location” screen, click the “Next >” button. Please note that the default ingestion location will be automatically configure to this destination + “\incoming“. In any case, this could be changed later.

On the “Start Installation” screen, click the “Next >” button:


Click the “Finish” button to complete the installation.

STEP 3. Allow the FAZZT Client through the Windows Defender Firewall:
In order to allow the ingestion through the Windows Defender Firewall, go to “Control Panel” > “All Control Panel Items” > “WIndows Defender Firewall” > “Allow an app or feature through Windows Defender Firewall”.
Click on “Allow another app…”:

On the “Add an app” window, click the “Browse…” button.

Go to the KenCast installation directory “C:\Program Files (x86)\KenCast\Fazzt\bin” and add the FazztSrv.exe.

Back to the “Add an app” window, click on the “Add” button:

STEP 4. Let’s start the FAZZT Professional Client:
After the installation above, a new icon will appear in your system tray (a purple antenna):
If you move the mouse cursor over it, you will see that FAZZT is stopped:

Right-click the purple antenna icon and select “Start Fazzt” to start the FAZZT service:

If you move the mouse cursor over the icon again, you will the the message “Fazzt is running”:

Let’s access the FAZZT configuration interface. Right-click the icon again and select “Admin (WWW)”:

The FAZZT Professional Client administration page will be opened in your default browser:

STEP 5. Let’s configure the FAZZT Professional Client:
KENCAST FAZZT CONFIGURATION
Let’s configure the FAZZT Client for the GNC-A ingestion. The configuration is the same for versions 9.0 or 10.0. At the menu on the left, choose “Configuration” > “Channels” and then, at the “Channels” window, choose “Channels Defaults”. At “Interface”, choose the IP address of the Network Card where you have your DVB-S2 receiver connected – in the example below, 192.168.0.23, the IP of my network card (you may also select the “ALL” option). Click on “Save”.

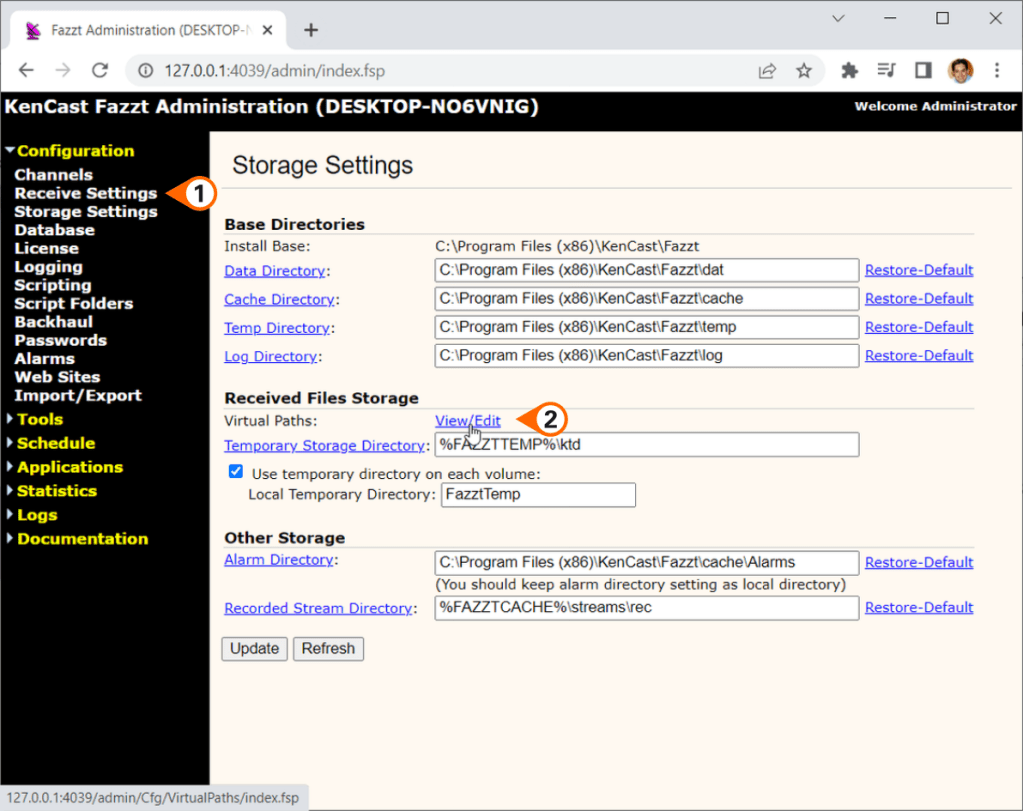
Select the ingestion folder at “Configurations” – “Storage Settings” – “Virtual Paths: View/Edit”
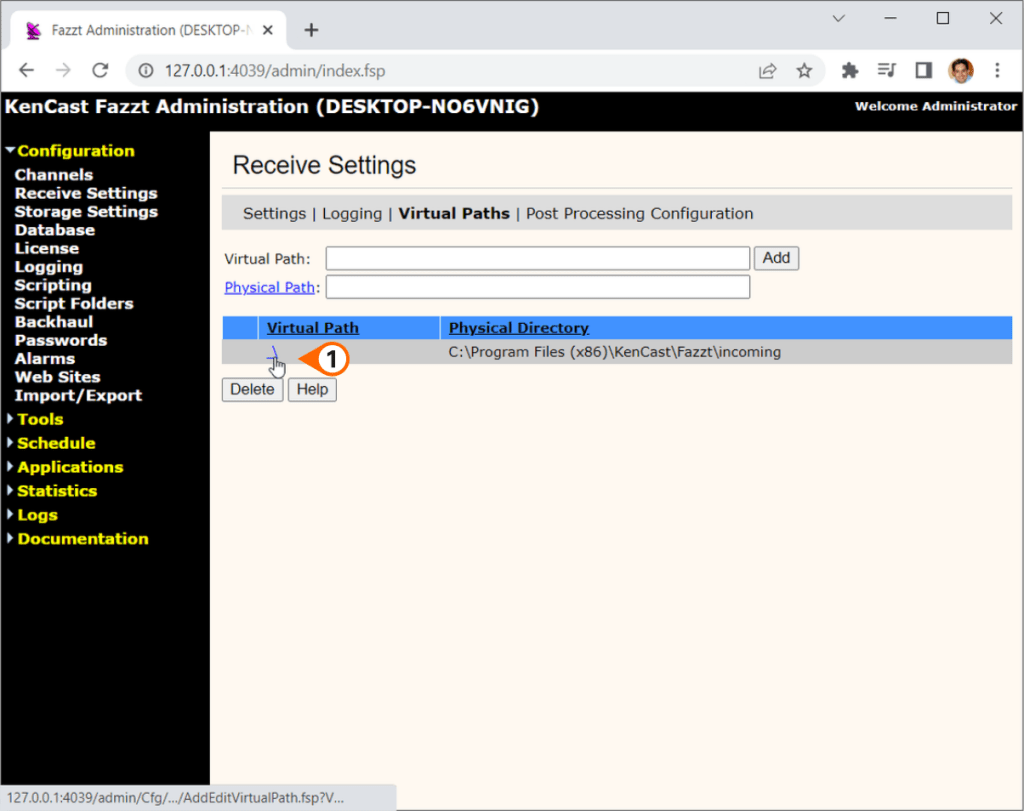
Click at the backslash “\” as shown on the image below and choose the folder where the received files will be stored. In this procedure the default location has been shown “C:\Program Files (x86)\KenCast\Fazzt\incoming” but it may be any folder you want. You may use this one or any folder of your preference.

Back to the “Channels” interface, click at the “1.Main” channel “Edit” option:

And at “Interface”, choose “default” (you may also select the “ALL” option).

After a while (a couple of minutes), you should see the GNC-A Broadcast channels being listed at the “Configuration” – “Channels” interface.

And that’s it! Your GNC-A station is ingesting data!
Please find at the following links other tutorials about the FAZZT Client:
- Installing and Configuring the FAZZT Client on Linux (RHEL7)
- Installing the GNC-A Ingestion software on CentOS 6.9: The Hard Way
- Installing the GNC-A Ingestion software on CentOS 6.9: The Easy Way
- Installing the GNC-A Ingestion software on Ubuntu 16.04: The Hard Way
- Installing the GNC-A Ingestion software on Ubuntu 16.04: The Easy Way
- Installing the GNC-A Ingestion software on Debian 10.3
- Installing the ingestion software in Linux [pdf] – English
- Cleaning the FAZZT Database on Linux
- Reset the FAZZT Database on Linux
- Cleaning the FAZZT “kdt” directory